Heat Loss During Loft Ladder Installation - How to Avoid It?
Loft ladders are undoubtedly a modern and comfortable solution that allows you to use your loft. Thanks to them, you can store a range of items you don’t need on a daily basis, or transform the space into a meeting area for family and friends, a bedroom, or a private office, gaining a dedicated workspace separate from your living area.
A wide selection of loft ladders is on the market today, and their popularity is growing each year. This variety lets you find a solution that matches your preferences and fits your building's installation requirements. So, which ladder is the best choice? This question is often asked by those planning to take this step. It is important to consider their specifications, requirements, and installation conditions—particularly about potential heat loss and their comfortable use thereafter. Below, we take a closer look at this aspect and explain how to avoid heat loss during and after loft ladder installation.
How to Choose the Right Loft Ladder in Terms of Energy Efficiency?
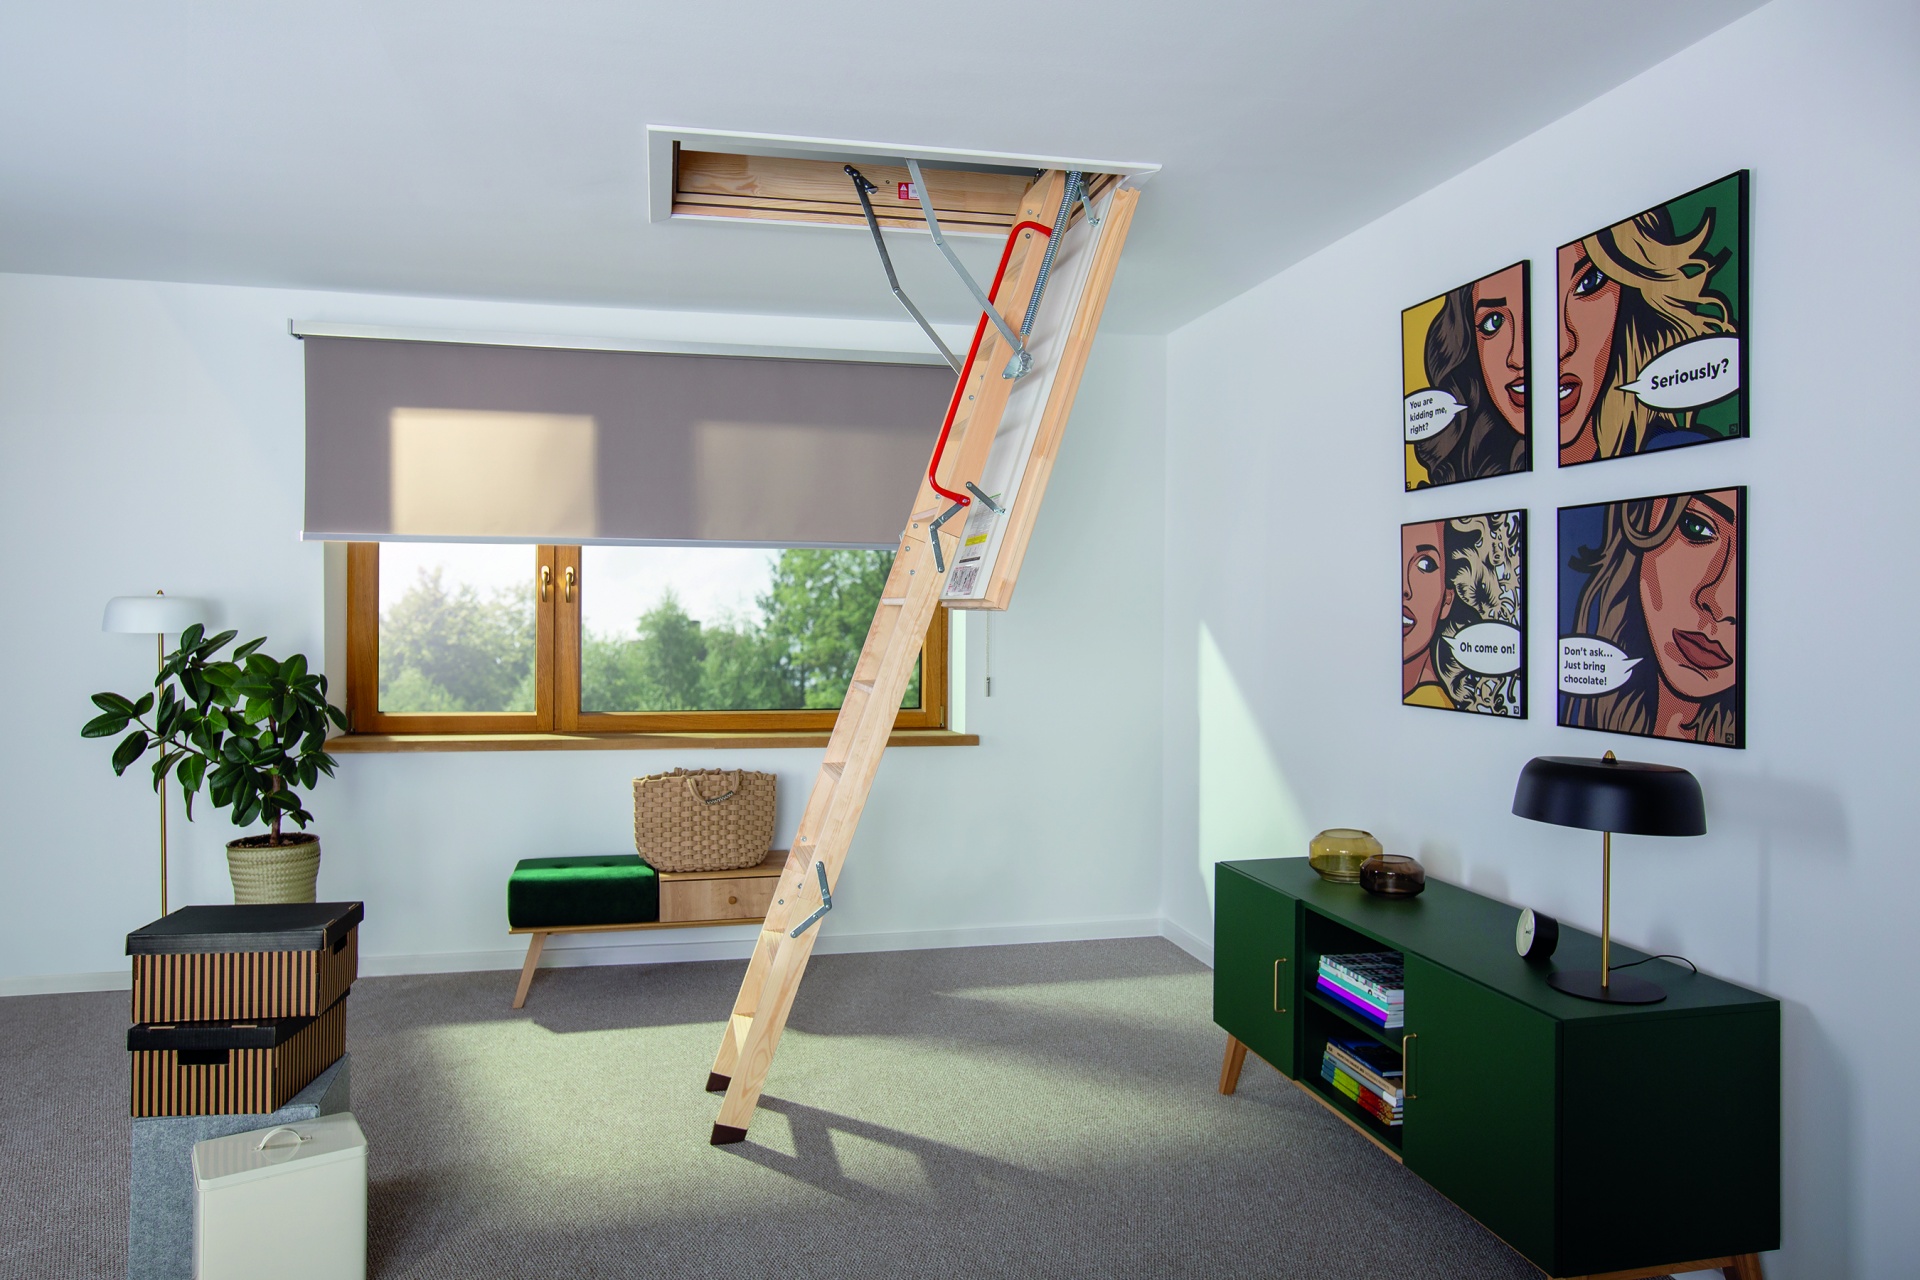
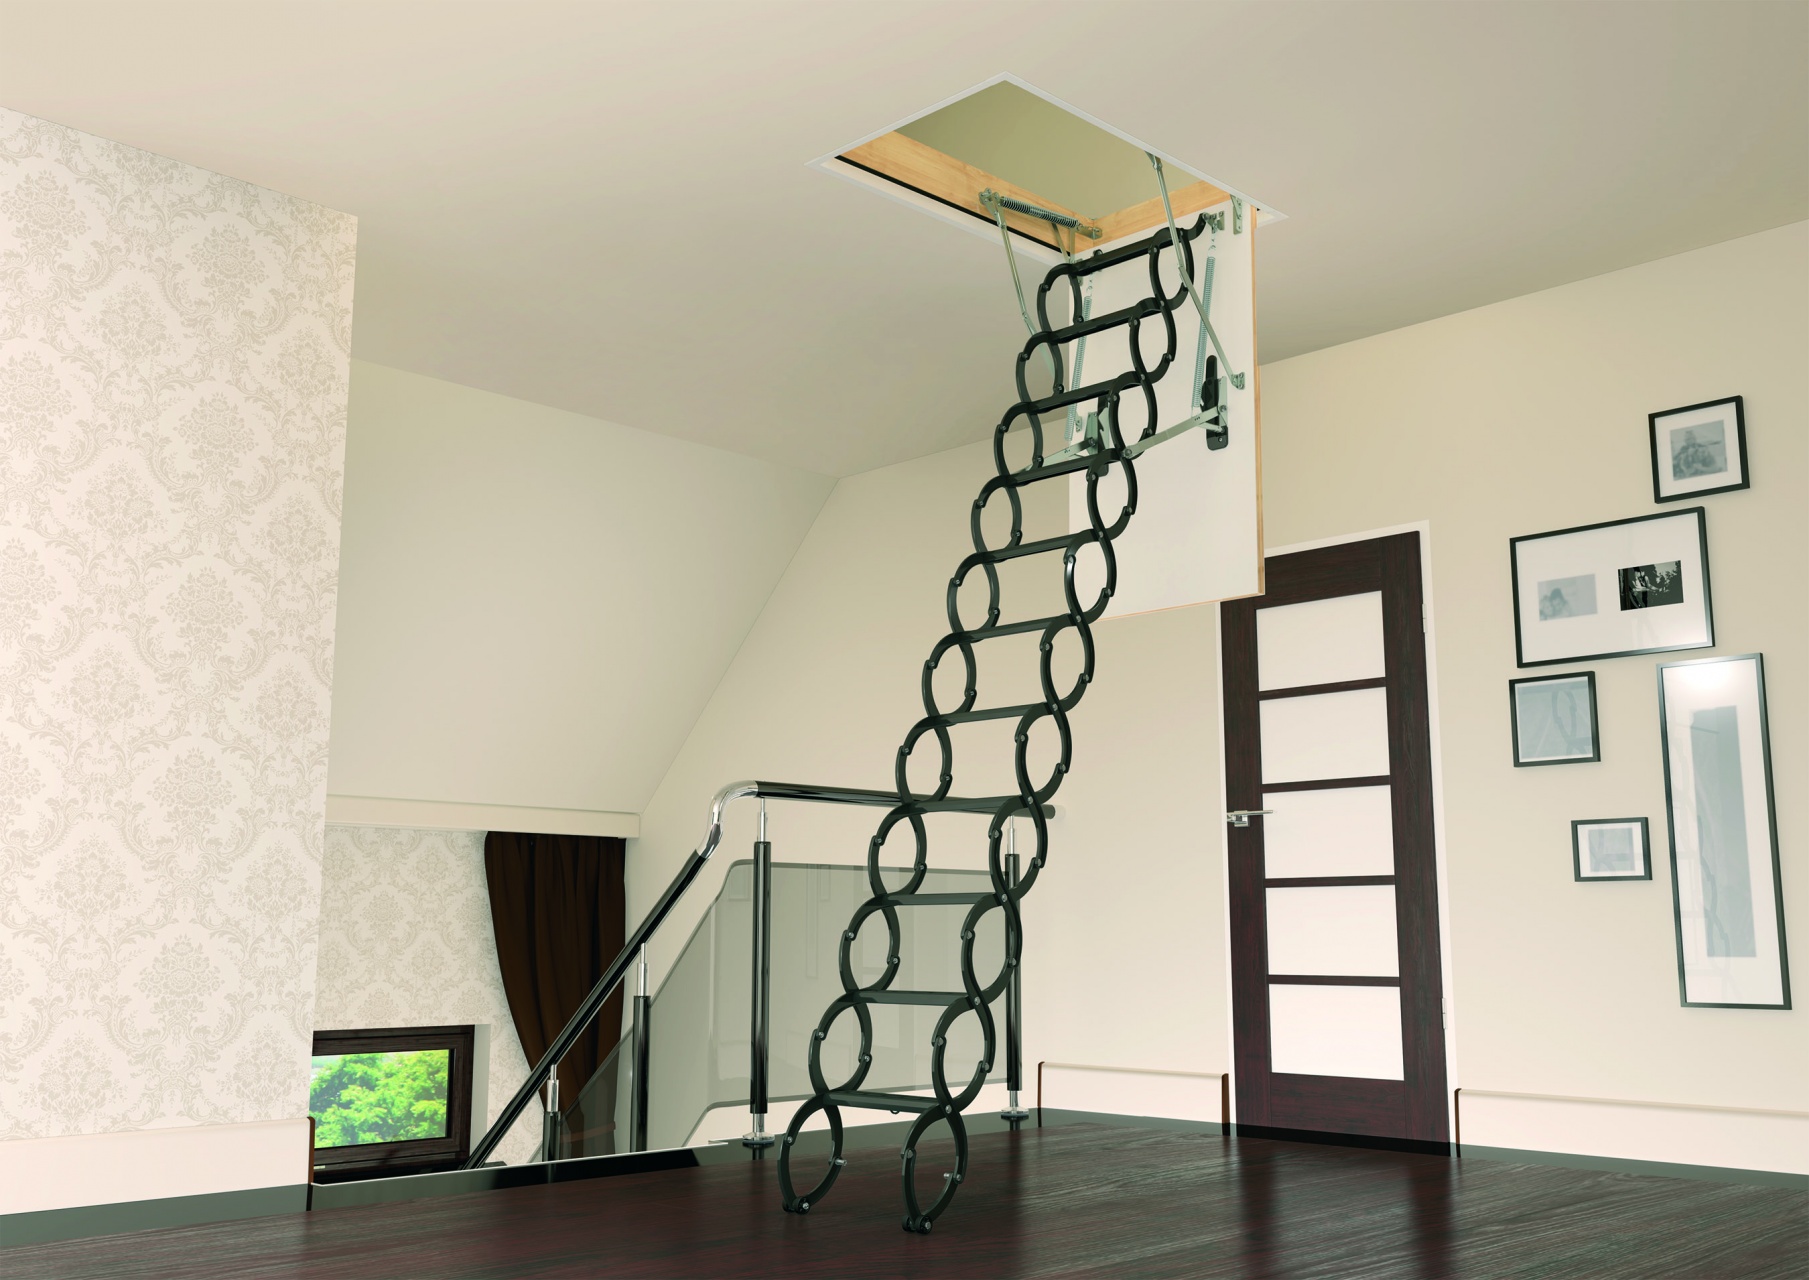
If you've decided to install a loft ladder, the next step is selecting the most suitable model. Loft ladders can be divided into segmented ladder stairs and scissor stairs. Among segmented options, wooden ladders, often made of pine, are the most common choice, although many companies also offer metal segmented ladders capable of bearing heavier loads - up to 200 - 250 kg! Scissor ladders, on the other hand, are typically made of steel. They are named for their accordion-like folding mechanism. While scissor ladders are slightly easier to handle, they often lack the aesthetic appeal of wooden models. However, their popularity is increasing, especially in modern attic spaces.
Once you have chosen the type of ladder, it’s time to address thermal insulation. Energy efficiency, heat retention, and reducing energy bills are critical considerations. An insulated loft hatch is an excellent solution for minimising heat loss and preventing moist air from escaping to the lower floors. High-quality loft insulation is therefore essential, and selecting loft ladders that support this is vital.
What Are the Key Steps in Proper Loft Ladder Installation?
As mentioned, correct loft ladder installation is key to maintaining a warm home. The first rule is to follow the manufacturer’s instructions provided in the kit. If you’re not confident in completing the installation yourself, hiring professionals is a wise decision. It is often a cost-effective option, particularly after the first winter, when you’ll notice reduced energy bills.
Generally, installing a loft ladder is not overly complicated, and two people can usually manage the task. Ensure you have the necessary tools and insulation materials before starting the installation - proper loft hatch insulation is critical. Make a shopping list in advance to avoid surprises. Carefully read the installation instructions, as the manufacturer will specify which tools, not included in the kit, you’ll need to purchase.
Proper installation involves several steps. First, install the airtight loft hatch box, ensuring a vapour barrier is placed on the ceiling. Nail a vapour barrier collar to the box, connecting it to the foil laid on the sides. Unfortunately, neglecting this step often results in poorly insulated loft hatches, leading to significant heat loss.
Next, remove the mounting battens and fill the gaps around the box with mineral wool or spray foam insulation. Spray foam is particularly effective, as it thoroughly penetrates gaps and ensures no warm air escapes.
Finally, cut the ladder feet to fit the room height, then install the loft ladder and the hatch flap. Masking strips should be used to cover gaps, ensuring a tight seal.
How to Ensure Your Loft Hatch is Insulated?
As mentioned, good-quality loft ladder insulation significantly improves energy efficiency by separating cooler loft space from the warmer living areas below. To achieve this, ensure the hatch flap is equipped with a thermal insulation layer to prevent heat from escaping. Insulation foam or mineral wool is commonly used for this purpose.
Airtightness is equally important. Thermal insulation foam should be used to seal the structure comprehensively. Additionally, the area around the hatch should be fitted with high-quality gaskets to create a barrier against cold air from the loft. This will also help minimise draughts and thermal bridging.
Lastly, proper installation is essential. Even the highest quality ladder with excellent insulation can fail if it is poorly installed. While the process is not overly difficult, consider hiring professionals if you are unsure. They can ensure the loft ladder is installed perfectly and may also recommend suitable hatches or accessories.
How Does Proper Loft Ladder Installation Improve Energy Efficiency?
Proper installation and insulation of a loft ladder is a long-term investment. High-quality ladders, like the FAKRO LWT Loft Ladder, are an excellent choice. This model, in particular, is distinguished by its outstanding heat transfer coefficient of 0.51 W/m²K. Its main advantages include ease of use, simple installation, and exceptional energy efficiency. Such loft ladders are ideal for any home, especially passive or energy-efficient ones, where every detail matters.
Good thermal insulation ensures comfort and savings for homeowners. If convenience and lower energy costs appeal to you, choose a high-quality loft ladder with a thermally insulated flap for the best results.